# 우분투에 microk8s를 이용하여 kubernetes 설치


--> 터미널 유지
$ sudo snap install microk8s --classic
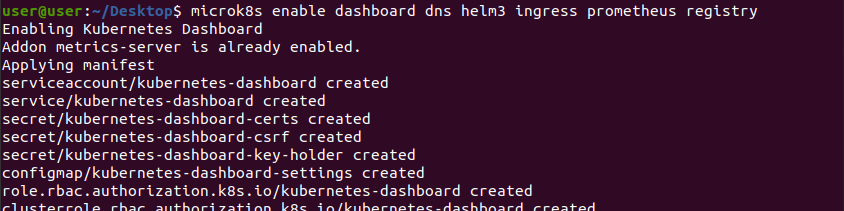
$ microk8s enable dashboard dns helm3 ingress prometheus registry
$ sudo usermod -a -G microk8s user
$ sudo chown -f -R user ~/.kube $ newgrp microk8s
$ microk8s dashboard-proxy # 프록시 돌아가는 터미널 유지


-> config 넣어주기
# kubevirt 및 cdi 설치


-> 리소스들이 Running 상태에 오른것 확인


-> 리소스들이 Running 상태에 오른것 확인
$ sudo apt install libvirt-clients
$ microk8s kubectl create -f https://github.com/kubevirt/kubevirt/releases/download/v0.45.0/kubevirt-operator.yaml
$ microk8s kubectl create -f https://github.com/kubevirt/kubevirt/releases/download/v0.45.0/kubevirt-cr.yaml
$ watch microk8s kubectl get all -n kubevirt # 리소스들이 Running 상태에 오른것을 확인
$ microk8s kubectl create -f https://github.com/kubevirt/containerized-data-importer/releases/download/v1.39.0/cdi-operator.yaml
$ microk8s kubectl create -f https://github.com/kubevirt/containerized-data-importer/releases/download/v1.39.0/cdi-cr.yaml
$ microk8s kubectl get all -n cdi
# virtctl 설치

$ sudo apt install curl
$ curl -L -o virtctl https://github.com/kubevirt/kubevirt/releases/download/v0.45.0/virtctl-v0.45.0-linux-amd64
$ sudo mv virtctl /bin/
$ chmod 750 /bin/virtctl
# fedora 클라우드 이미지 업로드
https://alt.fedoraproject.org/cloud/
페도라 클라우드
페도라 클라우드 클라우드 기반 이미지
alt.fedoraproject.org

-> qcow2 이미지 다운로드

cdi-uploadproxy-599649dcdc-hqd6d 1/1 Running 0 19m 10.1.38.88

$ sudo microk8s kubectl get pod -n cdi -o wide
$ sudo virtctl image-upload pvc vmdisk --size 6G --image-path=/images/fedora34.qcow2 --access-mode ReadWriteMany --insecure --uploadproxy-url https://10.1.38.88:8443
https://daaa0555.tistory.com/455
kubernetes 에서 VM 생성하기 2
https://daaa0555.tistory.com/454 터미널 유지 더보기 $ sudo snap install microk8s --classic $ microk8s enable dashboard dns helm3 ingress prometheus registry $ sudo usermod -a -G m.." data-og-host="d..
daaa0555.tistory.com
'클라우드 > 쿠버네티스(Kubernetes)' 카테고리의 다른 글
| VM(가상머신) 과 Container(컨테이너)의 차이 (3) | 2021.09.30 |
|---|---|
| 쿠버네티스 Kubernetes의 등장 배경 (0) | 2021.09.29 |
| 쿠버네티스 Kubernetes 스테이트풀셋 1 (0) | 2021.07.20 |
| 쿠버네티스 Kubernetes 애플리케이션 사용자화 6 / 시크릿(Secret)을 이용한 사용자화 1 (0) | 2021.07.14 |
| 쿠버네티스 Kubernetes 애플리케이션 사용자화 5/ 컨피그 맵(Config Map)을 이용한 사용자화 2 (0) | 2021.07.13 |


